How to Restore Old Photos Before You Put Them on a Card
Summary
Learning how to restore old photos for a Christmas card comes down to order. Clean the print with a blower only, scan it at 600 dpi in colour, repair a copy rather than the master, and check the restored face against the original. Then size the file for print, at least 1500 by 2100 pixels for a 5x7 card. Pick tools by damage type, and stop before the repair erases the person.
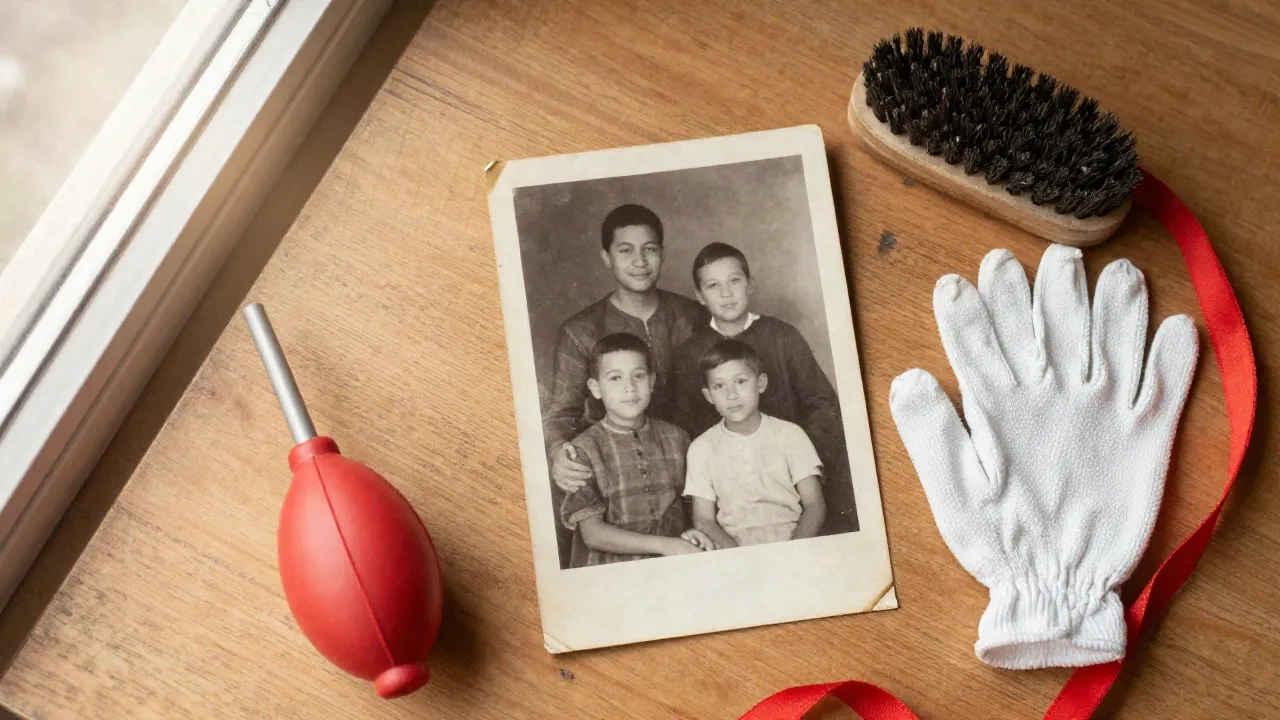
If you want to know how to restore old photos for a Christmas card, the short version is this: scan the print at 600 dpi after cleaning it with a blower and nothing else, fix the damage on a copy with an AI restorer or a healing brush, and stop before faces start looking smoother than they ever did. Then size the file for the card, which for a 5x7 means at least 1500 by 2100 pixels. The order matters more than the tool. Here is the workflow we use, and the places it quietly goes wrong.
Why restore the photo before you make the card, not after?
Here's the thing about a mailed card: the picture on it gets held at arm's length by someone who knew the person in it. A crease across a grandfather's collar that you barely noticed on screen will be the first thing a cousin sees at the kitchen table.
Print is also less forgiving than a phone. A scan that looks fine at 800 pixels wide turns soft at 5x7 inches, and every dust speck becomes a visible white dot once it is inked onto 300gsm stock. Fixing the file first costs you an evening. Fixing it after a print run costs you the run.
I learned this the slow way. My first attempt at a family card used a phone snapshot of a framed print, glare and all. It looked acceptable on the screen and dreadful on paper.
What should you do to the print before it goes near a scanner?
Almost nothing, and that is the point. The Library of Congress guidance on photograph care is blunt about it: handle prints by the edges, work on a clean dry surface, and never use tape, sticky notes or paper clips on them. For loose dust it recommends an air bulb blower rather than canned air or a brush, because even soft bristles can scratch an emulsion.
Skip the isopropyl alcohol tip you will see on some restoration blogs unless you are dealing with mold on a modern gloss print. On an old albumen or silver print you can lift the image along with the stain, and you cannot undo that.
Two small things that pay off. Take the photo out of any magnetic or sticky album page before scanning, gently, from the back edge. And write nothing on the front. If you need to label it, use a soft graphite pencil on the back, near the edge.
If a print is brittle, torn in two, or stuck to glass, stop. A paper conservator is cheaper than a regret.
How do you scan an old photo so the card prints sharp?
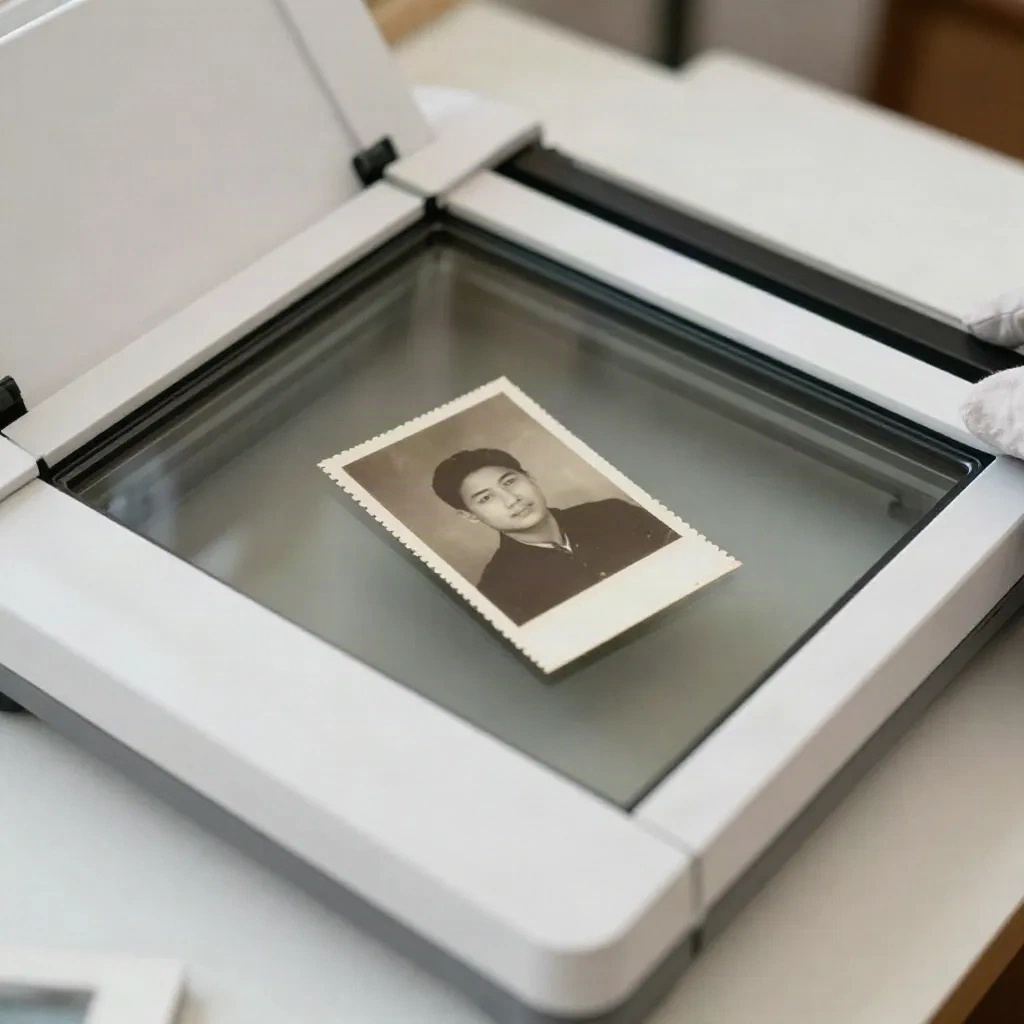
Scan at 600 dpi, in colour even for black and white prints, and save a TIFF as your untouched master. Colour mode catches the yellowing and the stains separately from the tones, which makes them easier to correct later. Save a copy to edit. The master never gets touched again.
Why 600? A 3x5 print at 600 dpi gives you 1800 by 3000 pixels, which is enough to crop a face and still fill a 5x7 card at the 300 dpi that printers want. Scan at 300 and a small wallet-sized print has nothing left to give once you enlarge it.
Lay the print flat against the corner guide, close the lid slowly so you do not puff dust onto the glass, and scan twice if the print has a curl. Wipe the glass with a lint-free cloth between sessions. A hair on the platen shows up on every scan until you notice it.
Which restoration tool is worth paying for?
It depends on the damage, and honestly on how many photos you have. A faded print with a few scratches is a ten minute job. A stack of forty with water stains is a weekend, and the tool you pick decides whether that weekend is pleasant.
For one or two photos with light fading, a browser tool with an enhance and repair button is enough. Fotor does colour recovery, scratch cleanup and sharpening in the browser, and the annual Pro plan runs about $48 if you need watermark-free export.
Remini is the one most people have heard of, and it is the one I would skip for this job. It is built to enhance faces aggressively, it bills weekly (around $9.99 a week for Pro at the time of writing), and it will happily give your great-aunt a smile she never had. If you try it, use the free tier, compare against your scan, and cancel before the trial rolls over.
For real damage, such as missing corners, torn creases and stains across a face, Photoshop's Generative Remove and the healing brushes give you control over what changes. They also give you a learning curve. At $22.99 a month it only makes sense if you plan to do the whole album, not one portrait.
If your scans are small or soft rather than damaged, upscaling is the real problem, and Topaz Photo AI is the specialist. It is subscription-only at $199 a year, so I would not buy it for a single card. But if you are digitizing a shoebox of 4x6 prints for a family archive, the sharpening and enlargement hold up at print size better than the free options.
Which kinds of damage are fixable at home, and which are not?
Fading, light scratches, dust spots and a single clean crease are all home territory. Contrast and tone correction handle the first, a healing brush the rest, and each takes a few minutes per photo once you have done two or three.
Yellowing and silvering are trickier. Yellowing comes out well if you scanned in colour, because you can pull it back channel by channel. Silvering, the metallic sheen that creeps across the dark areas of old silver prints, is a surface effect that scanners exaggerate. Tilting the print a few degrees on the glass, or scanning at a slight angle and straightening the file afterwards, often tames it better than any filter.
Water damage, mold, emulsion that has lifted, and anything where part of a face is simply gone belongs with a professional. A good restorer will rebuild a missing eye from the other one and the surrounding light, and will tell you honestly when there is not enough left to work with. Ask for a before and after on a similar print, and keep your own scan in case you disagree with the result.
How far should you go before it stops looking like your grandmother?
Not as far as the tool lets you. This is the mistake I made with my own family's wedding portrait: I ran a face enhancer twice, and the result was crisp, even, and nobody I recognised. The eyes were a little too wide. The skin had no age in it.
AI restorers fill gaps by guessing, and a guess on a face is a guess about a real person. Treat their output as a draft. Put the restored copy next to the untouched scan at full size and check three things: the shape of the eyes, the line of the mouth, and anything the tool invented in the background, such as extra buttons or a new window pattern.
A good rule is to fix what the camera and the decades did, and leave what the person did. Remove the crease, keep the squint. Bring back the contrast, keep the grain. Grain is what makes a 1962 photo look like 1962, and a card that has lost it looks like a stock image of a family from 1962.
Do not colourize unless the family wants it. Colourization is a second, separate decision and it is a lot of guessing about dress colours nobody wrote down.
Does a restored photo even matter if your card is painted?
It matters more than you would think, though in a different way. Template card services such as Shutterfly drop your photo into a border and print it as it is, so every scratch and stain you leave is on the card. That is fine if you want a straight photo card with a foil edge. They handle volume well and ship fast.
A painted rendering is different. Our model turns a photo into watercolor, oil pastel or a vintage postcard look, and the painting step smooths over dust and fine scratches on its own. What it cannot do is invent a missing face or rescue a muddy low-resolution scan. If the eyes are lost in the source, the painting has nothing to hold onto and you get a polite blur.
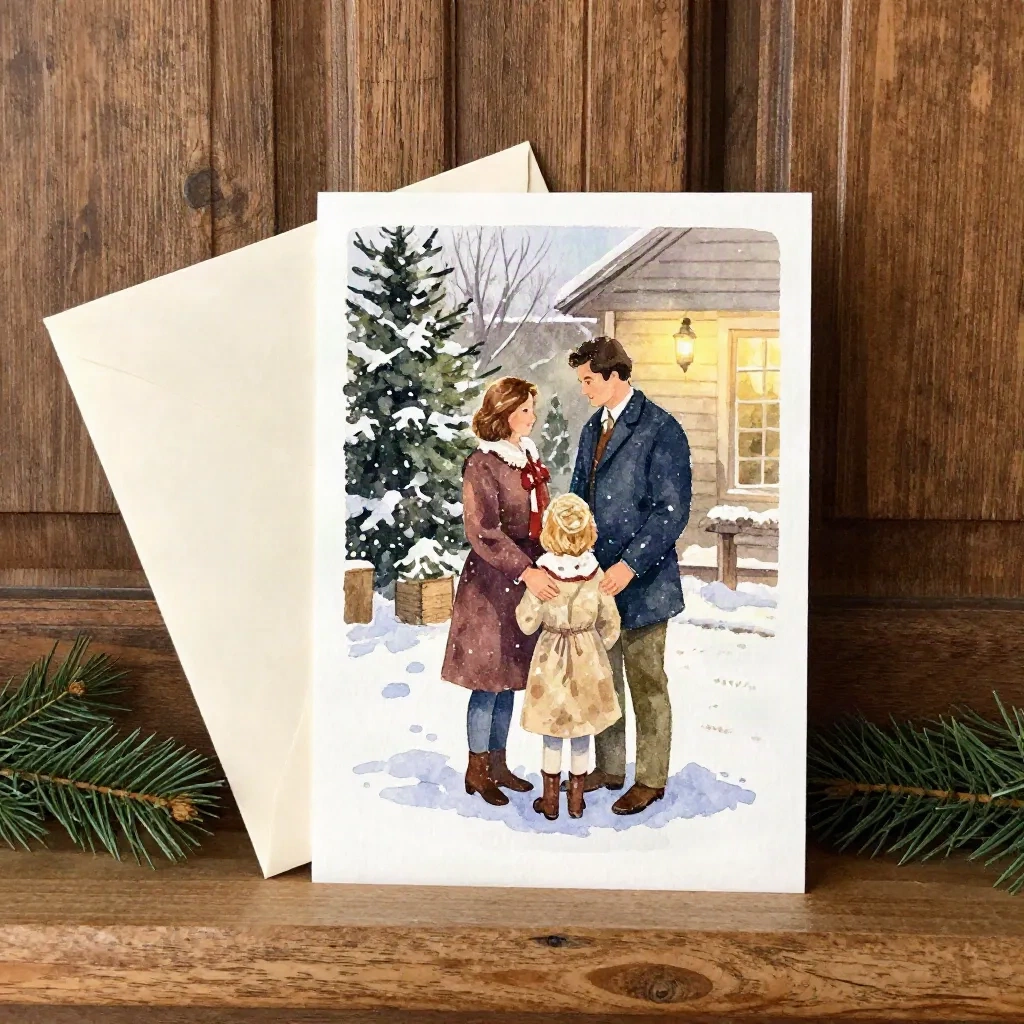
So restore for structure, not polish. Get the faces clean and the contrast honest, then hand the file over. A quick pass at 600 dpi and a gentle repair gets you a better painted card than an hour of over-processing.
One size note. For a 5x7 card, supply at least 1500 by 2100 pixels, and 300 dpi at final size is the number to hold onto. An old print cropped tight to one face will often fall short, which is another reason to scan big.
Where do the originals go once you are done?
Back into the dark, and not into the attic. The Library of Congress recommends a cool, dry and stable home: 30 to 50 percent relative humidity and 70°F or below, and it names attics and basements as places to avoid. A hall closet on an interior wall does the job.
Use photo-safe sleeves and boxes, which means materials that meet ISO 18902 and pass the Photographic Activity Test. Avoid albums with sticky or magnetic pages, since those are the ones that cause the damage you just spent an evening repairing.
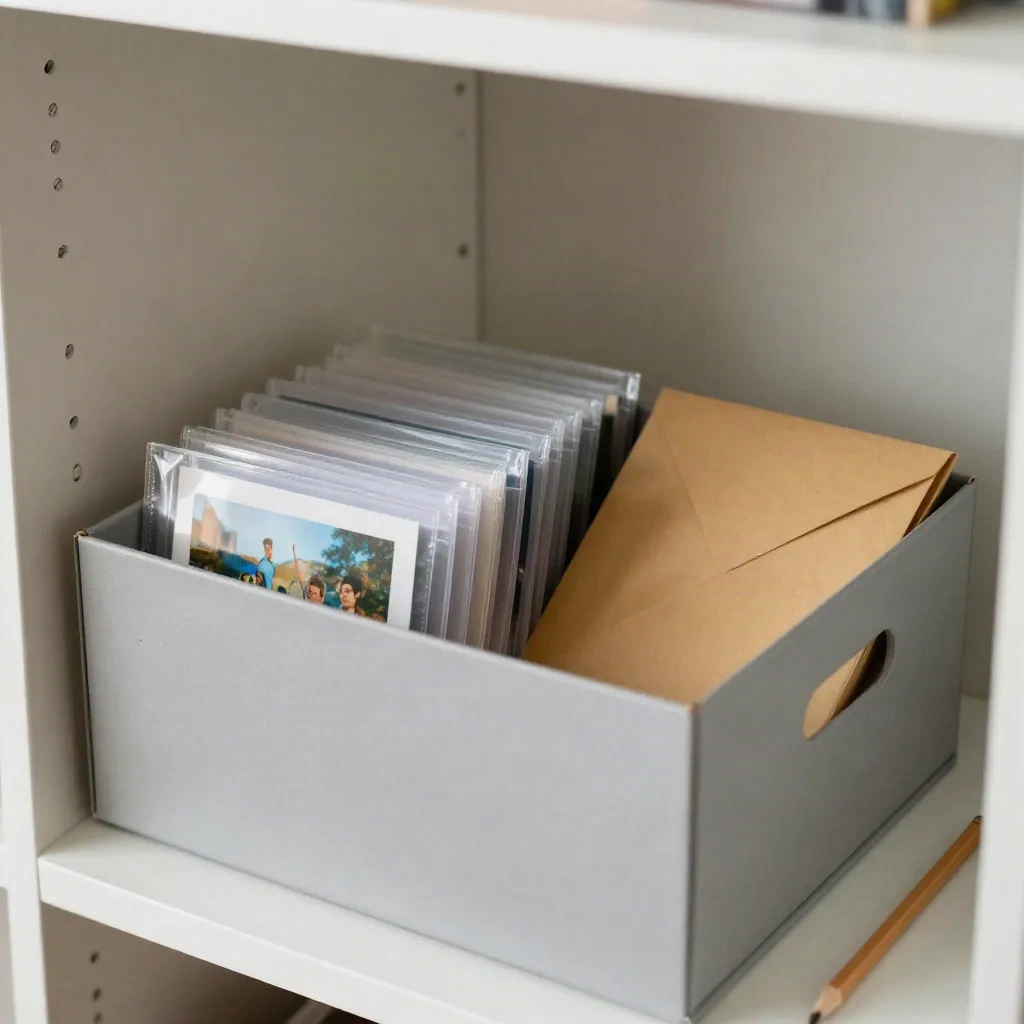
Keep the 600 dpi TIFF master in two places, such as a drive and a cloud folder. The print might fade further. The scan will not.
Before you hit print
A short checklist, in the order that saves the most grief. Clean with a blower. Scan at 600 dpi in colour. Edit a copy. Check the face against the original at full size. Size for the card. Put the print back in a box that will not eat it.
It is mid-October, which is when this stops being a hobby and starts being a deadline. If you start the scans this week, you have time to repair, proof and print before the postal rush. Wait until December and you will be choosing between a rushed restoration and a card without Grandpa in it.