How to Change Photo Background for a Christmas Card
Summary
To change a photo background, remove the subject with a free AI background remover, place the cutout over a new backdrop, then match light direction, edge softness and color temperature so it reads as one photograph. For Christmas cards, a cream, snowy or deep green backdrop prints best at 300 DPI. This guide compares Canva, Photoroom, Adobe Firefly and Fotor and lists the fixes for hair, glasses and halos.
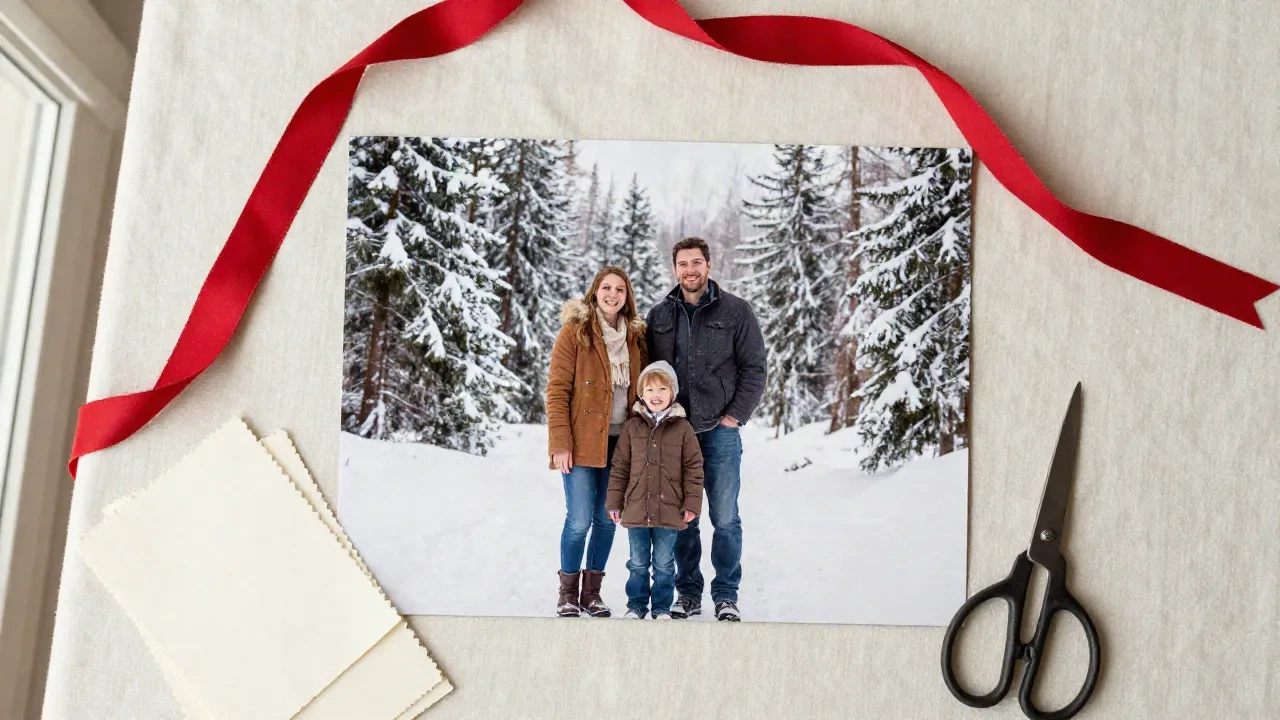
Here is how to change photo background in three moves: cut your subject out (any AI background remover does this in about five seconds), drop the cutout onto a new backdrop, then match the light and the edges so it looks like one photograph. For a Christmas card, the third step matters most, because the card gets held in a hand and read from twelve inches away. Here is how to do all three without paying a retoucher.
Why change the background on a holiday card at all?
Here's the thing about family photos: the best expression of the year is rarely taken in front of a good wall. The one where your youngest is actually laughing happens next to the recycling bins, or in a kitchen with a pile of mail on the counter. You can retake the shot, or you can keep the laugh and replace what is behind it.
A new background also solves a practical problem. A card printed on 300gsm stock is a small object, and a cluttered backdrop turns into visual noise at that size. A plain, slightly textured background (snowy pines, cream paper, a velvet curtain) lets faces carry the card. We see this every year in Portland, mid-October: the photos that print best are the ones where someone simplified the setting.
If you only have one photo and a December deadline, background swapping is the cheapest fix there is.
What do you need before you start?
Not much. A photo, any phone or laptop, and one of the free editors covered below. But two things about the source photo decide how good the result looks, and no tool fixes them afterward.
Resolution. Aim for at least 1800 by 1200 pixels if you plan to print a 5x7 card. A photo sent through a messaging app is often compressed to a third of that, and the cutout edges will look soft on paper even if they looked fine on screen.
Separation between subject and background. A person in a dark coat against a dark hedge is hard for any model to cut cleanly. The same person against a pale wall is easy. If you are still taking the photo, stand people a few feet away from whatever is behind them.

Which free tool should you use to remove the background?
Most of the popular editors now bundle a one-click background remover, and they are closer in quality than their marketing suggests. The differences show up in three places: hair, glasses, and what happens after the cutout. Here is what we would pick by situation.
Pick Canva if you will build the card in the same place. Its remover is quick, and you can drop the cutout straight onto a card-sized template, add a new backdrop, and export a print-ready PDF without switching apps.
Pick Photoroom if you are editing on your phone. It was built for product photos, so it is very good at hard edges, and it handles a coat or a mug better than it handles wispy hair. For a group shot in winter jackets, that is usually fine.
Pick Adobe Firefly if the next step is generating a brand new backdrop. You can remove the background and then describe a replacement ("snowy spruce forest, soft overcast light") in the same window. Skip it if you just want a plain color.
Pick Fotor if you want a manual brush to fix what the automatic pass missed. Its touch-up brush is the most forgiving for restoring a lost ear or a missing glove.
Skip any tool that adds a watermark to the free export. A corner logo on a card you are about to print is a trap, and cropping it out usually cuts into the composition.
How do you swap the background, step by step?
The process is the same in all four tools. Only the button names change.
Upload the original photo, not a screenshot of it. Screenshots lose a surprising amount of edge detail.
Run the background remover. You will see the subject on a checkerboard, which means the cutout is transparent.
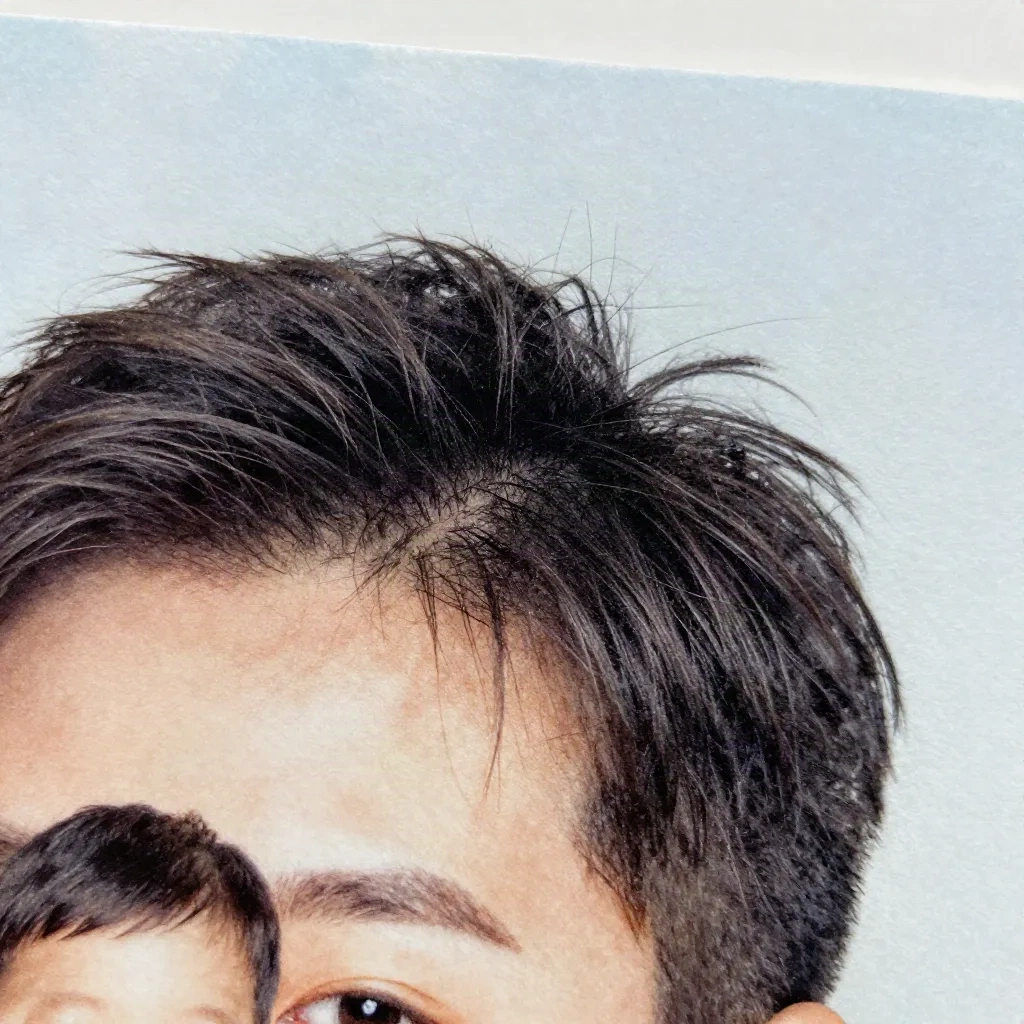
Zoom to 200 percent and look at the hair, the shoulders, and anywhere two people overlap. This is where the model slips.
Use the restore brush to paint back anything that got eaten, and the erase brush to remove leftover bits of the old wall.
Add the new background as a layer behind the subject, then scale and position the subject so the eyes sit roughly a third of the way down the card.
Export as PNG at the highest quality, then place it into your card layout.
Most people stop after step 2 and wonder why the card looks pasted. Steps 3 and 4 take two minutes and are the difference between a card that looks edited and one that looks photographed.
What makes a new background look real instead of pasted?
Three things, and they all come down to light.
Direction. If the original photo was lit from the left (look at which side of the face is brighter), pick a backdrop where the light also comes from the left. A snowy yard lit from the right behind a subject lit from the left is the single most common giveaway.
Softness. A cutout straight from the remover has an edge that is a little too sharp. Feather it by one or two pixels, or apply a very slight blur to the edge only. This is what lets hair blend into a background instead of sitting on top of it.
Color temperature. Indoor photos run warm and yellow. Snowy outdoor backdrops run cool and blue. If you combine them without correction, the family looks like they were cut out of a living room and pinned to a winter scene. Nudge the subject a few points cooler, or the backdrop a few points warmer, until they agree.
A quick test: shrink the finished image to the size of a postage stamp. If the subject still looks like it belongs in the scene, the blend works. If it pops off the page, go back and match the light.
Which backgrounds work best for Christmas cards?
You are not limited to snow. Some backgrounds print better than others, though, and a few look better on paper than on a screen.
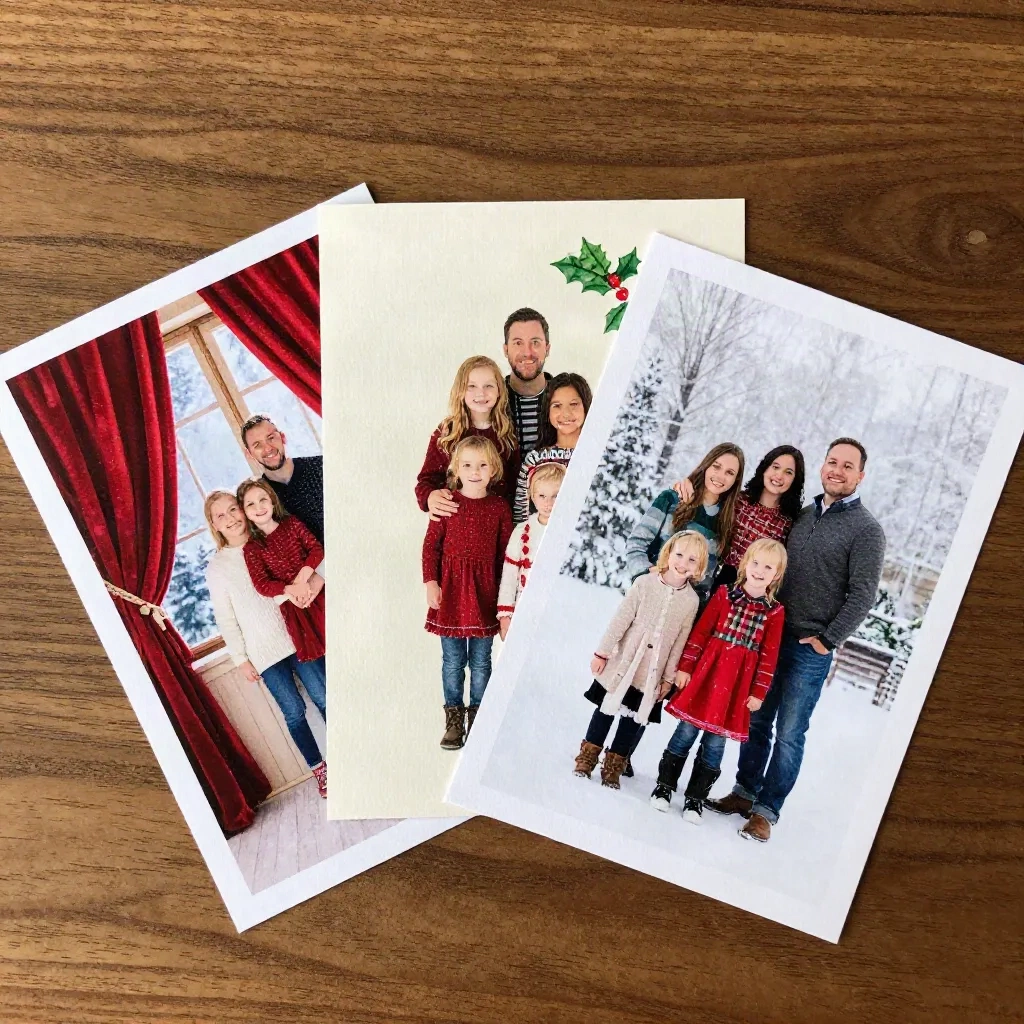
A solid cream or off-white behind the family is the safest choice. It prints cleanly, it leaves room for a handwritten message on the back, and it never competes with faces. Add a single small detail, like a hand-painted holly sprig in one corner, and it stops looking like a passport photo.
A deep red or forest green works well if the family is wearing light colors. It fails if they are wearing red, which is more common than you would think.
A snowy outdoor scene is the classic. Pick one with soft overcast light, because hard sunshine and long shadows are nearly impossible to match to a photo taken in a hallway.
Skip busy backgrounds like a fully decorated tree with lights. At card size the bokeh turns into a rash of colored dots around everyone's heads.
What goes wrong, and how do you fix it?
Some problems show up so reliably that we can list them from memory.
Missing or chewed hair. The model treated flyaway strands as background. Restore them with the brush at a very low opacity, then feather the edge.
A halo of the old background. A faint light or dark outline follows the subject. Shrink the selection by one pixel, or use the "decontaminate colors" option if your editor has one.
Glasses. Lenses reflect the old background, and the remover sometimes cuts through them. Zoom in and check both lenses. If the reflection is obviously a kitchen, paint it out.
Floating feet. The subject has no shadow, so it hovers. Add a soft, low-opacity shadow beneath the shoes, stretched slightly in the direction opposite the light.
Two people overlapping. Hugs and linked arms are where cutouts fail hardest. If it still looks wrong after touch-ups, fall back to a plain backdrop and crop tighter.
What if you would rather skip the editing entirely?
There is a second route, and it is worth knowing about. Instead of cutting out and pasting, you can ask a model to repaint the whole photo in a single style, so the subject and the background are rendered together in watercolor or oil pastel. Nothing can look pasted because nothing was pasted. It is the approach we use at Christmas Card Factory: upload the family photo, pick a style, and get a print-ready card in thirty seconds.
The trade-off is control. With a manual swap, you decide exactly which backdrop goes behind your family. With a painted style, the model decides, and it does best when the original photo is simple. If you have a specific scene in mind, swap by hand. If you want a card that looks illustrated for your family, let the model paint it.
What about printing a card with a swapped background?
Two things to check before you hit order.
First, export at 300 DPI at the final card size. A 5x7 card needs a 1500 by 2100 pixel image at minimum. Anything smaller and the cutout edges, which are the weakest part of the image, will show first.
Second, keep faces and the main subject at least a quarter inch away from the trim edge. Printers cut with a few millimeters of tolerance, and a background swap often puts the subject closer to the edge than the original framing did.
If you are comparing print services, Shutterfly handles volume well and ships quickly, and Minted has strong designer templates. Either will print your edited image. What neither will do is fix a bad cutout for you, so finish the edit before you upload.
Before you hit print
Pick one photo, not five. Remove the background, check the hair and glasses at 200 percent, match the light, and shrink the result to postage-stamp size as a final test. If it passes, you have a card that looks like the family stood there. Set aside an evening in early November for this, not December 15th, because the printing and mailing take longer than the editing does.