How to Change Background in Photo Without a Fake Look
Summary
To change the background in a photo, cut out your subject with a background remover, place a new backdrop that matches the original light direction and colour temperature, then clean the edges and add a soft contact shadow. Free tools such as Canva, Photoroom and your phone handle the cutout well. Hair and knitwear need a manual check at 200% zoom. For print, export at 300 dpi with a bleed margin, or skip the swap and paint the whole photo.
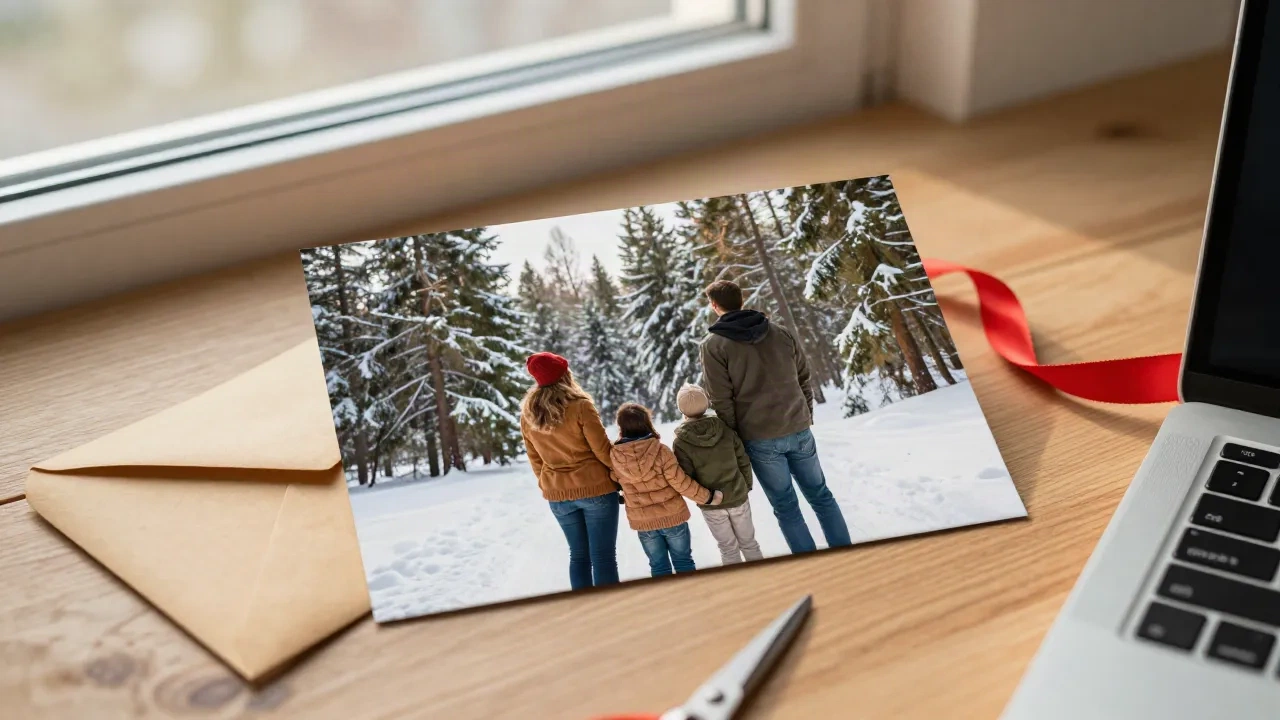
If you want to know how to change background in photo files without ending up with a pasted-on, cutout look, the short version is this: remove the old background with a subject-select tool, drop in a new one that matches the light and colour of the original shot, then fix the edges and add a soft shadow. Most free tools do the first step well. The last two steps are where a card goes from "nice" to "who took that?". Below is the workflow we use for Christmas card photos, plus the places it quietly fails.
Why bother changing the background on a card photo at all?
Here's the thing about a mailed card: it gets propped on a shelf for four weeks, and everyone who walks past sees it from two feet away. That is when the laundry basket in the corner becomes the main character.
Most family photos get taken in the one corner of the house with decent light, which is also the corner where the toy bin lives. Fixing that in editing is cheaper than reshooting, and it is a lot kinder to the kids.
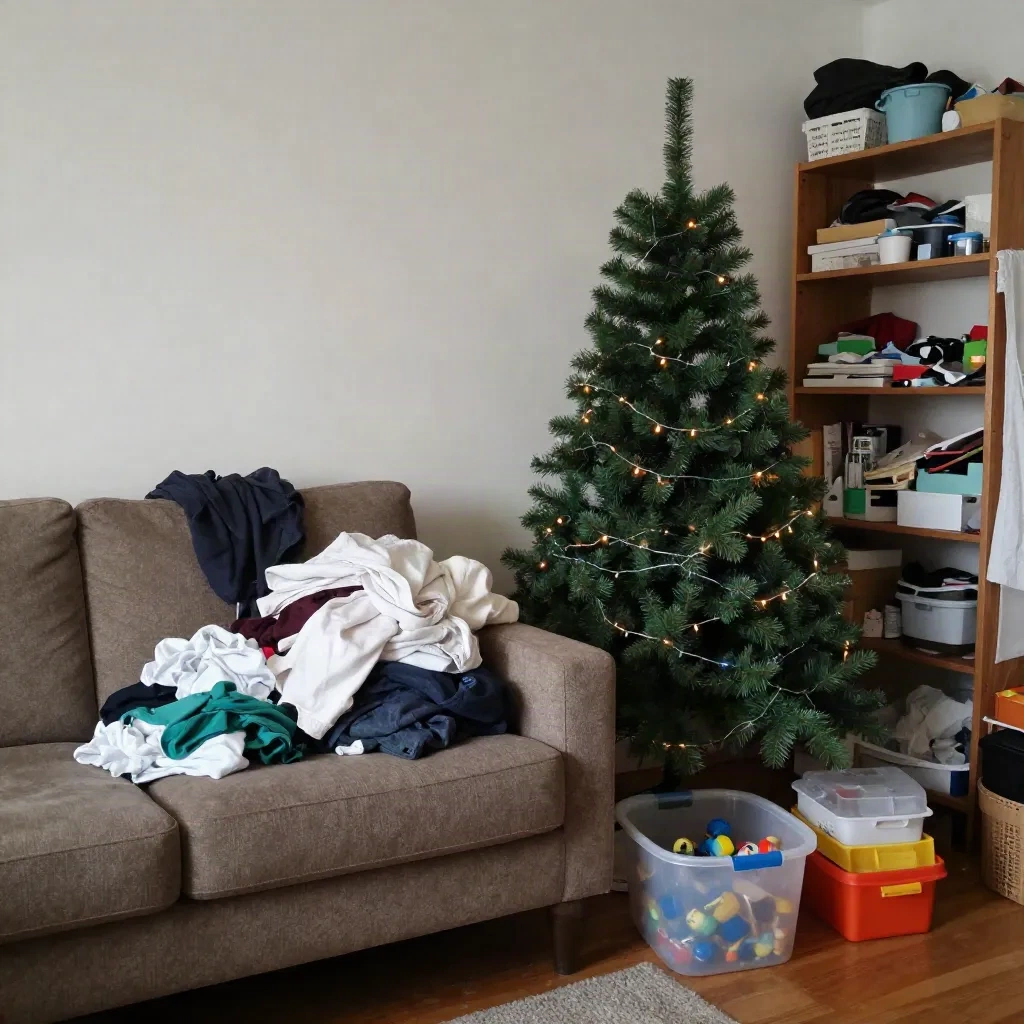
There are three honest reasons to swap a background on a card photo. The first is clutter, like the sofa pile above. The second is a bad sky or a blown-out window behind a good expression. The third is the one people don't admit: you want the whole family in a snowy scene and you live somewhere that hasn't seen snow since 2014.
All three are fixable. None of them are fixable by dragging a slider called "magic" and hoping.
What does a background swap actually involve?
Every tool on the market, from a phone gallery to Photoshop, runs the same four steps under different names. Knowing them helps you spot where a result went wrong.
Cutout. The software guesses which pixels belong to your subject and which belong to the background, and produces a mask. This is the step AI got very good at.
Replacement. You supply a new background, either a photo you upload, a solid colour, or one the tool generates from a text prompt.
Matching. The subject and the new background need to agree on light direction, colour temperature and contrast. This is the step most one-click tools skip.
Edge work. A thin halo of the old background clings to hair and wool. Good tools soften or decontaminate it. Bad ones leave a glow you will only notice once the card is printed.
Which method should you use for how to change background in photo editing?
Pick by how much control you need, not by which app has the loudest ad. We tested the same family photo across the common routes.
On a phone, the built-in options cover the first step surprisingly well. On an iPhone you can touch and hold the subject in the Photos app to lift it off its background, then paste it onto a new image. Many Android gallery apps have a similar cut-out feature. This is fine for a quick test and a group chat. It is not enough for print, because you get a cutout and no matching.
Canva is the easiest browser route. Its Background Generator lets you upload a photo, describe the new scene in a sentence, and it also offers a relighting control that nudges the shadows and mood toward the new scene. For a card that will be seen on a screen, that is often enough. Skip it if you need the exported file at full print resolution on the free plan, and check the export size before you commit.
Photoroom sits in the same easy tier but is built around cutouts. Its background remover is fast and clean on simple shapes, and it has AI backdrops and batch editing if you are doing twelve cards in one evening. It was made for product photos, so hair and fuzzy knitwear are where you should zoom in and check.
Photoshop is the control route. Select Subject, refine the mask, and use Generative Fill to build a new background from a prompt, with Harmonize to match tone to the new scene. It is the best result and the steepest learning curve. If you already pay for Creative Cloud, use it. If you don't, you are renting a very large toolbox to hang one picture.
How do you keep the new background from looking pasted on?
This is the section that matters. A flawless cutout on a mismatched background still looks like a sticker.
Match the light direction first. Look at where the shadows fall on your family. If the left cheeks are bright and the right ones are in shade, your new background needs its light source on the left too. A snowy scene lit from the right will make everyone look like they were cut out of a different afternoon.
Match the colour temperature. Indoor photos run warm and orange. A fresh snow background runs cool and blue. Nudge your subject cooler by a few points or warm the background slightly, until skin and snow agree about what time of day it is.
Add a ground shadow. A person standing on a new floor with no contact shadow floats. Paint a soft, low-opacity shadow under the shoes, in a colour pulled from the background rather than pure black.
Blur the background a little. Real lenses throw backgrounds out of focus. A razor-sharp backdrop behind a softer subject is the fastest giveaway in the whole process. A gentle blur, about what an 85mm lens at wide aperture would give you, fixes it.
Keep the resolution honest. A background generated at a small size and stretched will look soft next to a sharp subject. Generate or source it at least as large as the final print.
What breaks the cutout (and how to fix it)?
Cutout tools are trained mostly on clean shapes. Christmas photos are the opposite: knit sweaters, scarves, fairy lights, flyaway hair, and children who will not hold still.

The wool in this frame is the classic trap. The tool sees a soft, fuzzy boundary and has to decide, strand by strand, whether the light behind it belongs to the window or to the sweater. Cheap tools pick "background" and carve a clean hard line, which erases the texture that made the sweater look like a sweater.
Four places to zoom to 200% and check before you export:
Hair against a bright background, where strands vanish or leave a white fringe.
Knit or fur edges, where the fuzz either disappears or keeps a halo of the old wall.
Gaps between people, such as the triangle between an arm and a torso, where the old background tends to survive.
Glasses and glassware, where the tool cannot decide whether to keep the transparent part.
If the edge looks wrong, the usual fix is manual. Paint the mask back by hand with a soft brush at low flow, rather than hunting for a better "refine" slider. Five minutes with a brush beats five tools.
What size does the file need for print?
A screen forgives what paper does not. For a standard 5x7 inch card, you want roughly 1500 by 2100 pixels at 300 dpi, which is the usual target for printers. Most phone photos clear that easily, but a cropped or upscaled cutout often does not.
Leave a small safety margin at the edges. Printers trim cards slightly off the page, so a background that stops exactly at the edge of the file can show a white sliver. Extend the new background past the card boundary by about an eighth of an inch on every side.
Flatten the file before sending it anywhere. Layers, masks and hidden adjustment groups are how a printer ends up with a version you did not approve.
Or skip the swap and paint the whole thing
Here's an angle most guides never mention. The reason background swaps look fake is that two different photographs are being forced to coexist. Change the problem and it mostly goes away.
If the finished card is a painted watercolor or pastel rendering of your photo instead of a photo with a new backdrop, the whole image gets one consistent treatment, from the sweater to the snow. Edge fringes, mismatched light and soft hair stop mattering because everything has been redrawn together. A cluttered corner becomes a few loose brushstrokes.
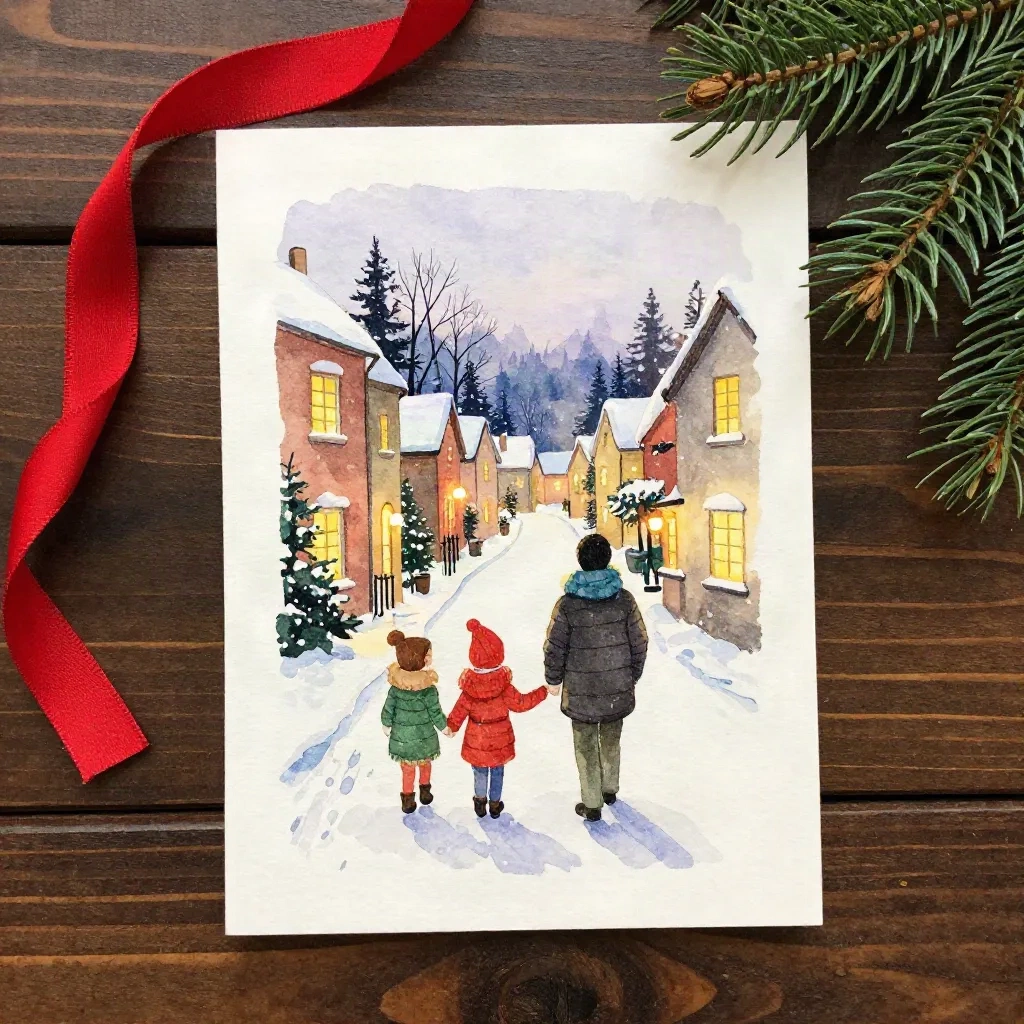
That is what our own generator at Christmas Card Factory is built for: you upload the family photo, pick a painted style, and the model renders the scene as one piece. It is not a replacement for a clean background swap when you want the card to stay photographic. But if the choice is between an hour of mask repair and thirty seconds to a print-ready PDF, a lot of people take the second one.
If you are working on product or lifestyle shots rather than family portraits, Klayn takes a different route: it builds consistent scenes around a single product photo. That is outside card territory, but worth knowing if you also sell what you make.
A quick workflow you can follow tonight
Pick the best expression first. Background is fixable, a closed eye is not.
Run the cutout in the tool you have, then zoom to 200% and inspect hair, knit and gaps.
Choose a background that matches the original light direction and time of day.
Warm or cool the subject until skin tone and background agree.
Add a soft contact shadow and a gentle background blur.
Export at print size, with a bleed margin, flattened.
Print one test at home on plain paper before ordering the good stock.
That last step is the one people skip, and the one that catches halos you could not see on a bright monitor.
Before you hit print
Changing a background is easy now. Making it look like the photo was always taken there is still a craft, and it mostly comes down to light, edges and shadow. The tool matters less than whether you checked the fuzzy bits at 200%.
If your photo needs rescuing rather than polishing, consider the painted route. And whichever path you pick, order a proof early. Portland, mid-October: that is when this becomes a full-time job for printers, and slots for a good proof run out fast.